
LED strip lights are one of the most versatile lighting fixtures and can be used in a variety of ways. LED light strips are easy to install. Just cut the strip of the right size, remove the tape, and press it into place. But it is not easy to install it safely, beautifully, and durable. This article will show you how to install LED light strips. So, without further ado, let's get started.
1. Material preparation
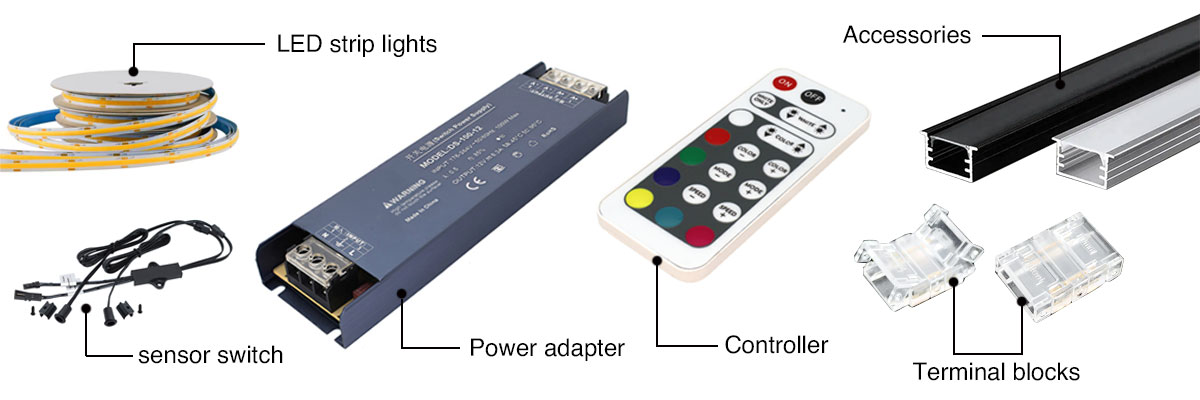
(1) 24V/12V DC led strip lights: Choose the right light strip, measure the required installation size when installing, cut the light strip, and mark the cutting position for each light strip. Weihui's cob led strip lights recommendation.
(2) Power adapter/driver power supply: The selected adapter should match the voltage and power of the light strip. It should be noted that when the light strip size exceeds 10 meters, the voltage at the end of the light strip will drop and become dim.
(3) Terminal blocks, soldering: Terminal blocks provide you with a quick and simple solution to reconnect the LED light strip, but for a more stable connection, I recommend soldering.
(4) Accessories: adhesive, aluminum profile, clip, lampshade: select suitable accessories according to the installation location, installation requirements and installation method.
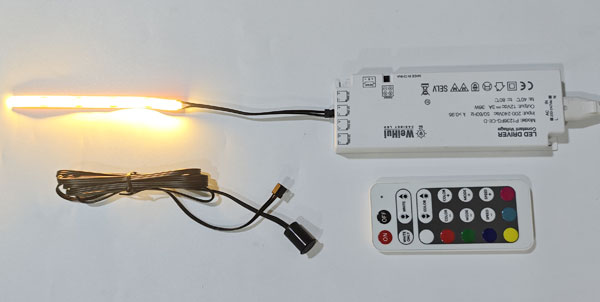
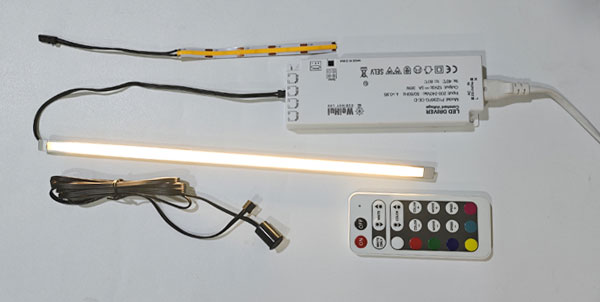
(5) Controller (optional items, such as led dimmer control, remote control): used to control the light strip
(6) Switch (optional): used to control the light strip, Weihui’s sensor switch recommended.
2. Installation steps
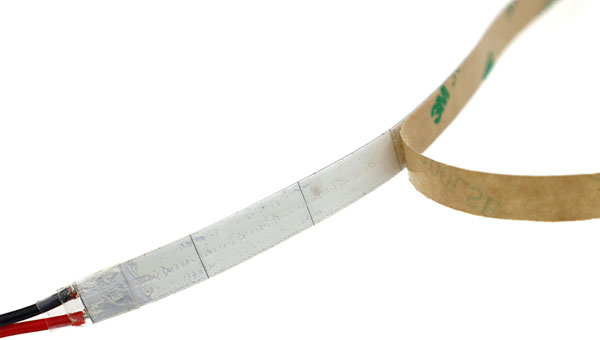
(1) Measure the size and cut the light strip: measure the size of the required light strip and cut it at the cutting line at the mark. Only cut at the mark, otherwise the circuit will be damaged.
(2) Connect the power supply: make sure that the power supply output voltage matches the light strip (for example, a 12V led strip lights can only use a 12V power supply).
(3) Fix the light strip: use adhesive or clips to fix the light strip, or install it in the aluminum profile groove, which is firm and has better heat dissipation.
(4) Connect the controller or switch: if dimming, remote control or timing control is required, you can install an intelligent controller.
(5) Power-on test: after confirming that the connection is correct, turn on the power and check whether the entire section is lit. The installation is complete.
The following focuses on the installation methods of led strip lights:
3. Installation methods of LED light strips
(1) Adhesive installation:
The adhesive is attached to the light strip itself. The adhesive is quick to install. Just tear off the back of the tape and press it on the installation location. No drilling, screws or other installation tools are required, which saves time and cost. It is highly efficient, so it is the simplest and fastest way to install led light strips, and it is also the most common installation method. However, there are some disadvantages to adhesive installation, such as poor quality adhesive, easy to loosen, or possible damage to the wall when removing the tape.
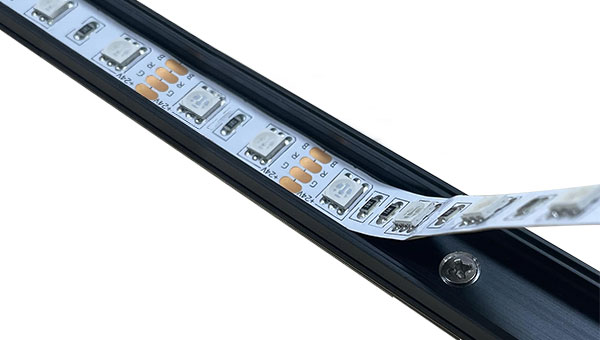
(2) Channel installation:
The most commonly used channel installation is aluminum trough installation. Aluminum profiles are an excellent choice for installing LED light strips. Installing with a lampshade can protect the LED light strip from dust, dirt and other unexpected substances, making the LED light strip last longer. The lampshade brings a diffuse lighting effect and the light is softer. The disadvantage is that the profile is expensive and the installation is time-consuming.
(3) Clip installation:
The led strip is fixed with a clip and installed on the surface. Clip installation is a more stable installation method than adhesive installation. This process requires drilling, clips, screws, etc. There are many different types of clips on the market, such as: LED single-sided fixing clip, adhesive led strip lamp fixing clip, adjustable angle light strip fixing clip, E-type fixing clip. The advantage of fixing clip installation is that it is more stable and easy to manage. However, there are some disadvantages: screw installation is time-consuming and damages the wall.


④E-type fixing clips:
E-type fixing clips can be made of aluminum metal or plastic. They are more suitable for thick light strips such as silicone LED light strips or neon light strips. These E-type fixing clips do not need to wrap the light strip and are directly fixed to the surface, creating a seamless lighting effect.

Different installation methods have different advantages and disadvantages. Fully understanding the installation methods of LED light strips can save you time. Learn about the different installation methods and choose the most suitable one to install your project to achieving the optimal solution for your project.
Post time: Jun-17-2025


